Blog
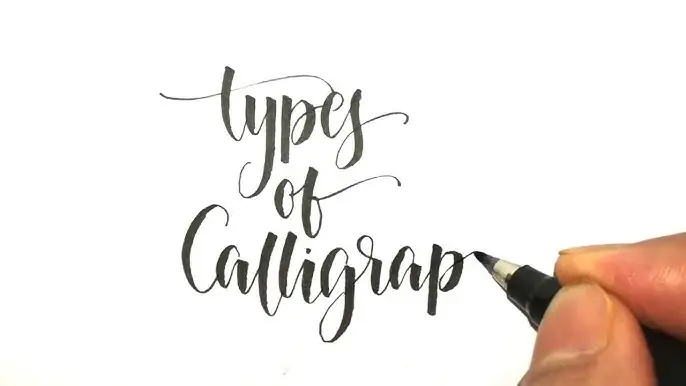
Types of Calligraphy Styles

There are many calligraphy styles to explore, but these three are great for beginners:
1. Modern Calligraphy
Features: Playful, free-flowing letters with varied thickness.
Best for: Invitations, greeting cards, and social media quotes.
2. Traditional Copperplate
Features: Elegant, slanted letters with precise thin and thick strokes.
Best for: Formal events and certificates.
3. Brush Calligraphy
Features: Created with brush pens for a soft, painterly effect.
Best for: Casual designs and hand-lettered artwork.
Essential Calligraphy Tools
You don’t need expensive supplies to start. Here’s what to gather:
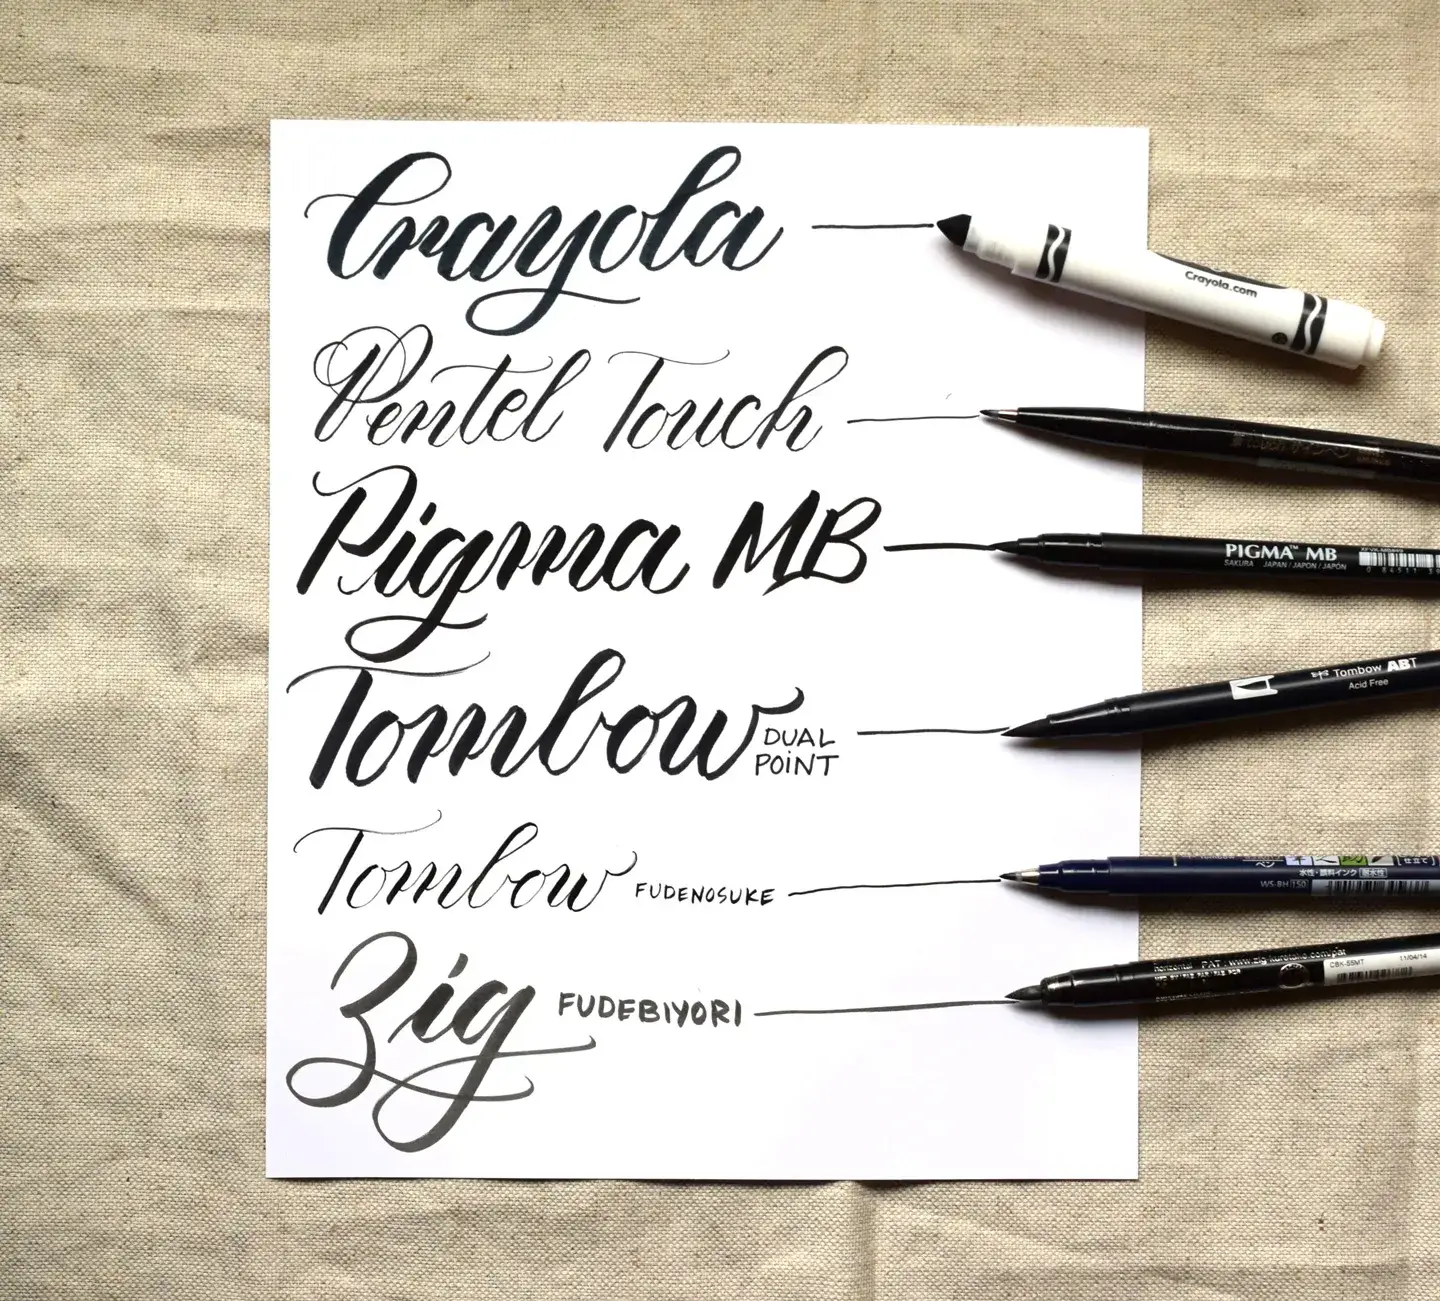
1. Calligraphy Pens
Dip Pens: Classic choice with interchangeable nibs.
Fountain Pens: Convenient for beginners (e.g., Pilot Parallel).
Brush Pens: Great for modern and casual styles.
2. Ink
Waterproof ink (like India ink) prevents smudging.
Colored inks add a creative touch.
3. Paper
Smooth, heavyweight paper (e.g., Rhodia or Canson) prevents bleeding.
Guideline sheets help keep letters even.
4. Other Helpful Tools
Pencil & eraser (for sketching layouts).
Ruler (for straight lines).
Practice workbook (optional).
Basic Calligraphy Strokes to Master
Every letter is built from fundamental strokes. Practice these first:
Upstroke – Light, thin line (lift the pen slightly).
Downstroke – Firm, thick line (apply pressure).
Oval – The foundation for letters like "o" and "e."
Compound Curve – Combines thick and thin lines in one stroke.
Pro Tip: Spend 10-15 minutes daily practicing these before moving to full letters.
Bring out your natural glow with Curology
At solmen va esser necessi far uniform grammatica, pronunciation e plu sommun paroles. Ma quande lingues coalesce, li grammatica del resultant lingue es plu simplic e regulari quam ti del coalescent lingues. Li nov lingua franca va esser plu simplic e regulari quam li existent Europan lingues pronunciation e li plu commun vocabules solmen va esser.
Abu Dhabi Royal Family Metal Wall Art – Luxury Emirati Tribute Decor
AED 120.00 – AED 449.00Price range: AED 120.00 through AED 449.00Allahu Akbar Minaret Style Metal Islamic Wall Art
AED 149.00 – AED 199.00Price range: AED 149.00 through AED 199.00As-Salamu Alaykum Islamic Greeting Metal Wall Art – Modern Muslim Home Decor
AED 199.00 – AED 299.00Price range: AED 199.00 through AED 299.00Step-by-Step Guide to Writing Your First Calligraphy Word
Set Up Your Workspace
Place a guideline sheet under your paper.
Secure it with tape to prevent slipping.
Warm Up with Basic Strokes
Fill a page with upstrokes, downstrokes, and ovals.
Start with Simple Letters
Try "a," "n," and "m" before complex letters.
Write a Full Word
Begin with short words like "love" or "hello."
Review & Adjust
Compare your work to reference sheets.
Identify areas to improve (e.g., spacing, slant).
Common Calligraphy Mistakes (And How to Fix Them)
Inconsistent Letter Sizes
Fix: Use guideline sheets and practice basic strokes.
Shaky Lines
Fix: Slow down, relax your grip, and breathe evenly.
Ink Bleeding or Feathering
Fix: Use smoother, thicker paper designed for calligraphy.
Letters Look Too Stiff
Fix: Loosen your wrist and let letters flow naturally.
Creative Ways to Use Calligraphy
Once you’re comfortable with the basics, try:
Personalized Greeting Cards (birthdays, thank-you notes).
Wedding Invitations & Place Cards.
Home Decor (framed quotes, wall art).
Hand-Lettered Logos & Branding.
Social Media Quotes (Instagram, Pinterest).
Final Thoughts: Embrace the Journey
Calligraphy is a skill that improves with patience and practice. Don’t worry about perfection—enjoy the process of creating something uniquely yours.
Ready to start? Grab a pen, some paper, and begin your calligraphy adventure today!


